- March 13, 2019
- Posted by: SouTech Team
- Category: Graphics and Branding
No Comments
Removing a background from an image has never been easier than with Adobe Photoshop. Adobe Photoshop has quite a few tools to help achieve this end. Among these tools is the Quick Selection tool. The simple steps to removing a background from a picture with the Quick Selection Tool are explained below:
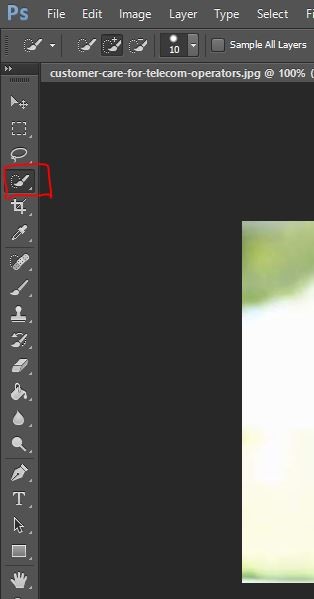
- Go to the tool box by the left side of your workspace.
- Select the fourth tool tagged ‘Quick Selection’ (arranged that way by default except when rearranged) or hit the hotkey ‘W’

- Right click on the tool to select the “Quick Selection Tool“
- Click on the Quick Selection tool and drag the cursor in a part of the area you want to select.
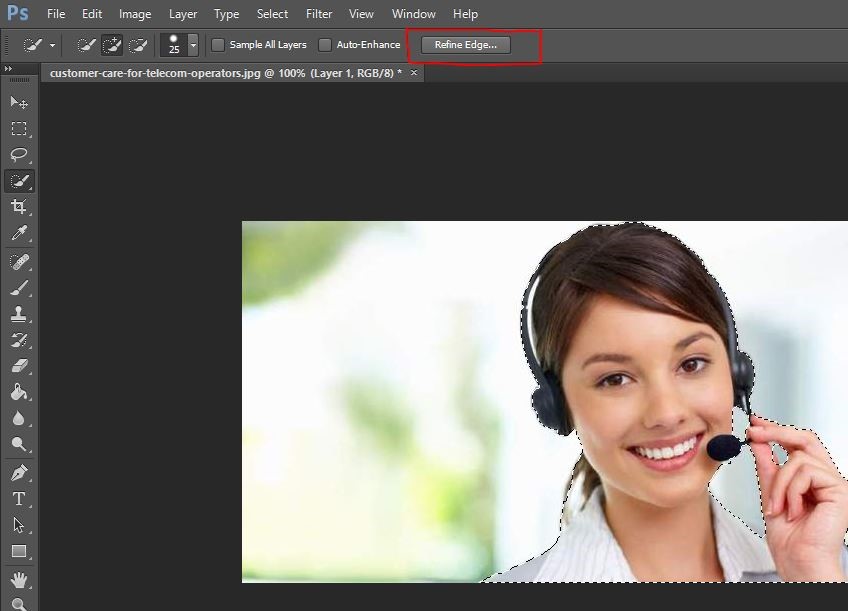
- You’ll see a line like that of some ‘marching ants’ appear around the shape. Keep adding to it by continuing to drag the cursor within the area. To deselect an area on your shape or image, hold down the Alt key and drag on your image. To deselect your entire selection, hold down Ctrl + D.

- After selecting your image and it’s smooth along the edges, you can go ahead to
(a) Duplicate by clicking Ctrl+J
(b) Click on the eye icon on the bottom layer to hide it
(c) Now you can export
- But if your image has rough edges, click on the ‘Refine Edge‘ box above your workspace. The Refine Edge option allows you to make defined and strategic changes as well as effects on the edges of your image and shape. It is worthy to note that there’s no one way rule to use the Refine Edge adjustments, you are allowed to around the adjustments options till you get your desired output.

- After adjusting the edges, you can output your shape to a New Layer, click Ok and export your image.


